 MundoPrinter3D
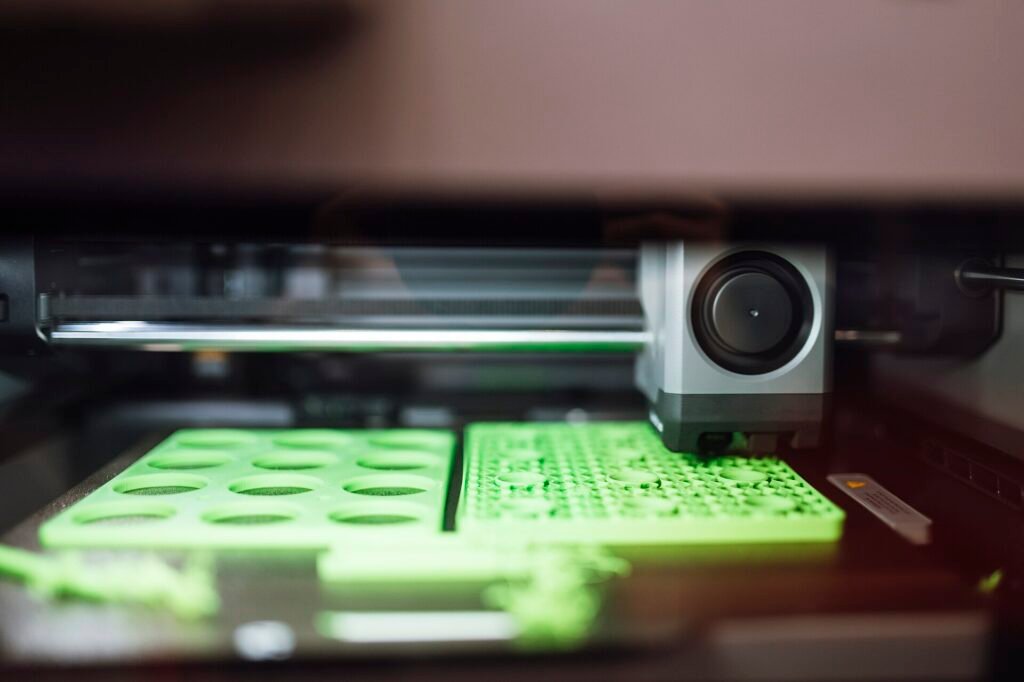
Foto: Shixart1985, CC BY 2.0, vía Wikimedia Commons
The first print is a test of your setup, not of your imagination. Most beginners fail because they skip a step between unboxing and pressing print. This checklist walks through the order that matters: square the machine, level the bed, build a profile you can repeat, confirm adhesion, read the first layer, and diagnose failures before you change three settings at once.
Before the first spool: bench and machine check
Unbox on a flat, stable surface and keep the packaging until the machine has printed something. Check the frame for shipping damage and confirm every cable is seated.
Remove the shipping locks. Many printers ship with the gantry, bed, or head restrained, and printing with a lock in place damages the machine. The manual lists them; read that page twice.
Square the frame. If the gantry sits crooked, no amount of leveling saves you, because the nozzle travels at an angle to the bed. Check that the vertical extrusions are parallel and that the crossbar is even on both sides.
Check the belts and wheels. Belts should twang, not sag. Wheels should roll without wobble and without a flat spot from sitting in one place.
Clean the build surface. Manufacturing oils and fingerprints stop adhesion before your settings ever get a chance. Warm water and a drop of dish soap, then dry it without touching the print area.
Load the filament correctly. Seat it fully in the extruder, confirm the correct diameter, and make sure the spool turns freely. A spool that binds mid-print looks exactly like a clog.
Preheat and check the motion. Run the axes to their limits by hand with the power off. They should move smoothly and stop where they should.
Level the bed, then verify with the first layer
Leveling means the nozzle sits at a consistent distance from the plate across the whole surface. It does not mean the plate is perfectly flat, and it does not mean the number on the screen is correct.
Start with the plate cold, or at printing temperature if the manual says so, because metal expands. Use the paper method if you have no probe: move the nozzle to each corner and adjust until the paper drags with slight resistance. Do the corners twice, because adjusting one moves the others.
With a probe, run the automatic routine and then check the result with a first-layer test. The probe measures; it does not fix a warped plate or a loose gantry.
Print a single-layer square that covers most of the bed. Watch the lines. They should touch, with no gaps and no ridges. Gaps mean the nozzle is too high. Ridges and a translucent, squeezed look mean it is too low.
Adjust in small steps and reprint the square. Change one thing at a time. If you move the bed and change the flow in the same pass, you will not know which one worked.
Record the value that worked. Write it on a note or in the machine’s settings. The bed will drift, and starting from a known number saves time.
Build a slicer profile you can repeat
A slicer profile is a set of decisions. Make them once, write them down, and stop guessing.
Start from the profile the printer maker supplies, then change one variable at a time. If your printer is not listed, choose the closest generic profile and correct the build volume first, so the slicer knows where the head can travel.
Set the material temperature from the spool label, not from a forum post. Makers publish a range for their own product, and that range is the correct starting point for that spool.
Set layer height to a fraction of the nozzle size and keep it modest for the first print. Tall layers are faster and hide problems; short layers show every issue and take longer.
Turn on a brim or skirt for the first print. A skirt primes the nozzle; a brim adds adhesion on a part with a small footprint.
Keep support settings simple. Automatic supports with a sensible overhang angle are enough for a test model. Aggressive support settings cause more failures than they prevent.
Save the profile with a clear name, and save a copy before you experiment. The profile you trust is an asset.
Adhesion: plate, squish, and heat
Adhesion problems are rarely about glue. They are usually about a dirty plate, a nozzle that is too high, or a bed that is not at the right temperature for the material.
Clean the plate before every print with soap and water, or with isopropyl alcohol between prints. Oils from your hands transfer in seconds.
Match the bed temperature to the material and the plate type. A glass plate, a textured sheet, and a smooth sheet all behave differently, and the maker’s guidance for the sheet you own beats a generic number.
Slow the first layer down. A slow first layer gives the plastic time to press into the surface. Speed is for the rest of the print.
Add a brim when the part has a small footprint or long thin arms that curl. Remove it with a deburring tool, not your fingernails.
Keep drafts away. An open window or an air conditioning vent cools one side of the part and lifts a corner. A cardboard shield works for the first week.
Check nozzle height again after any change to the plate or the nozzle. Adhesion failures are often just leveling failures wearing a disguise.
Common first-print failures and their causes
The first layer does not stick. Dirty plate, nozzle too high, bed too cold, or first layer too fast. Fix in that order.
The print detaches halfway. Warping from a draft or a bed that is too hot, or a part with too little contact area.
Stringing between towers. Too much heat for the material, too little retraction, or wet filament.
Under-extrusion and gaps. A partial clog, a slipping extruder, or a spool that binds. Check the spool first.
Layer shifts. A loose belt, a pulley screw that is not tight, or the head hitting a curled part.
A rough, bubbly surface. Moisture in the filament. Dry it and reprint before changing settings.
The print stops mid-air. A clog, a runout, or a power issue. Check the nozzle and the filament path.
Change one variable per test print. Keep notes on what you changed. That habit turns a frustrating week into a working machine.
Frequently asked questions
How long should the first print take?
Start with a small test model that finishes quickly. The goal is a clean result, not a long print. Once the first layer and the walls look right, move to bigger objects.
Do I need to level the bed before every print?
No, but check the first layer every time. Leveling drifts slowly, and a quick look at the skirt catches it before a long print fails.
Which file should I print first?
The test model that came with the machine, or a simple calibration cube. Both are small and reveal the problems you need to fix.
What if the first layer looks fine but the print fails later?
Suspect heat, cooling, or adhesion on a tall part. Check whether the failure starts at the same height each time; a repeating failure points to a mechanical issue, not a setting.
Slow down. Change one thing per print. Keep the test square and the profile notes. A machine that prints a clean first layer will print almost anything else, and that first layer is the only part of the process you cannot fix after the fact.
Where to buy
We do not list prices: they change by seller and region. These links open Amazon US, where the current price and shipping options are shown.